
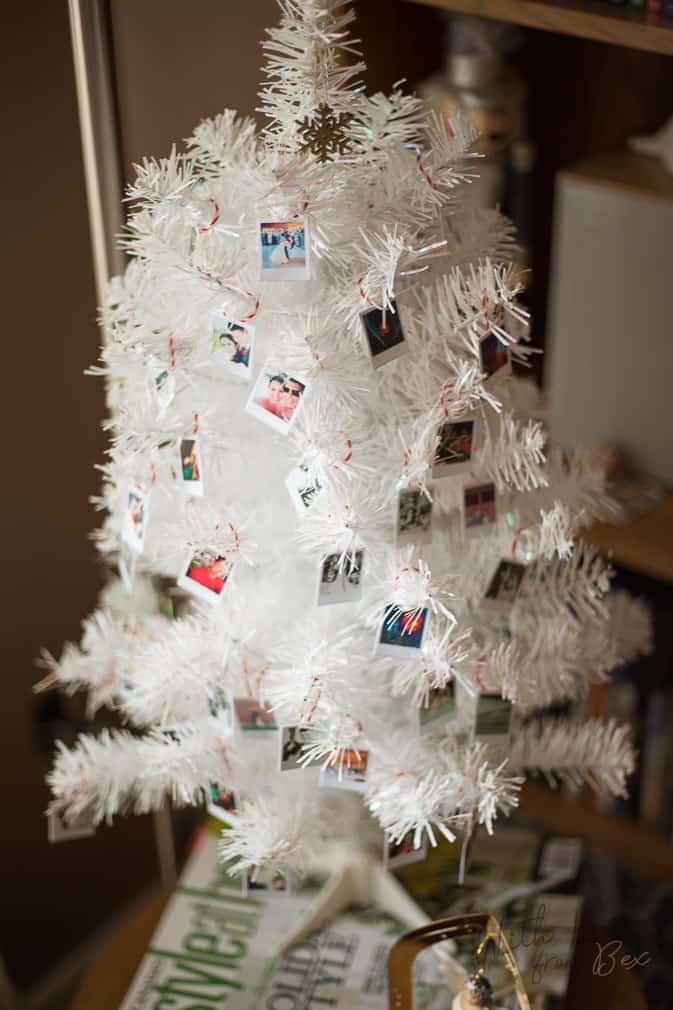
Yup, you read that right. It’s a mini Polaroid ornament tree! *Cue the cute sounds* I first came across the mini Polaroid idea on Ambrosia Creative. I fell in puppy eye love with the idea of mini Polaroids! I mean honestly! THEY ARE ADORABLE! Anyways, ever since I bought my Fujifilm’s Instax Mini 8 Instant Camera (I know not a polaroid but close enough for now) I have been obsessed, snapping pictures any chance I get. Ask Chris, he is usually the subject of my mini obsession. Anyways, when I saw this magnet idea, I instantly thought ‘I can turn these into ornaments!’ Then the wheels started turning and next thing I knew I was printing, cutting, gluing and hanging cute little photos of our 2014 memories.
Let me show you how I created my tree of mini memories. Here’s what I used to create these adorable Polaroids.
Photo paper (I used 8×10)
Printer (I used my colour laser printer)
Polaroid Template (check out Ambrosia Creative for her template)
Scissors
Heavy Cardstock
Mod Podge
Glue stick
Baker’s Twine
Foam brush
Clear tape
Mini Tree
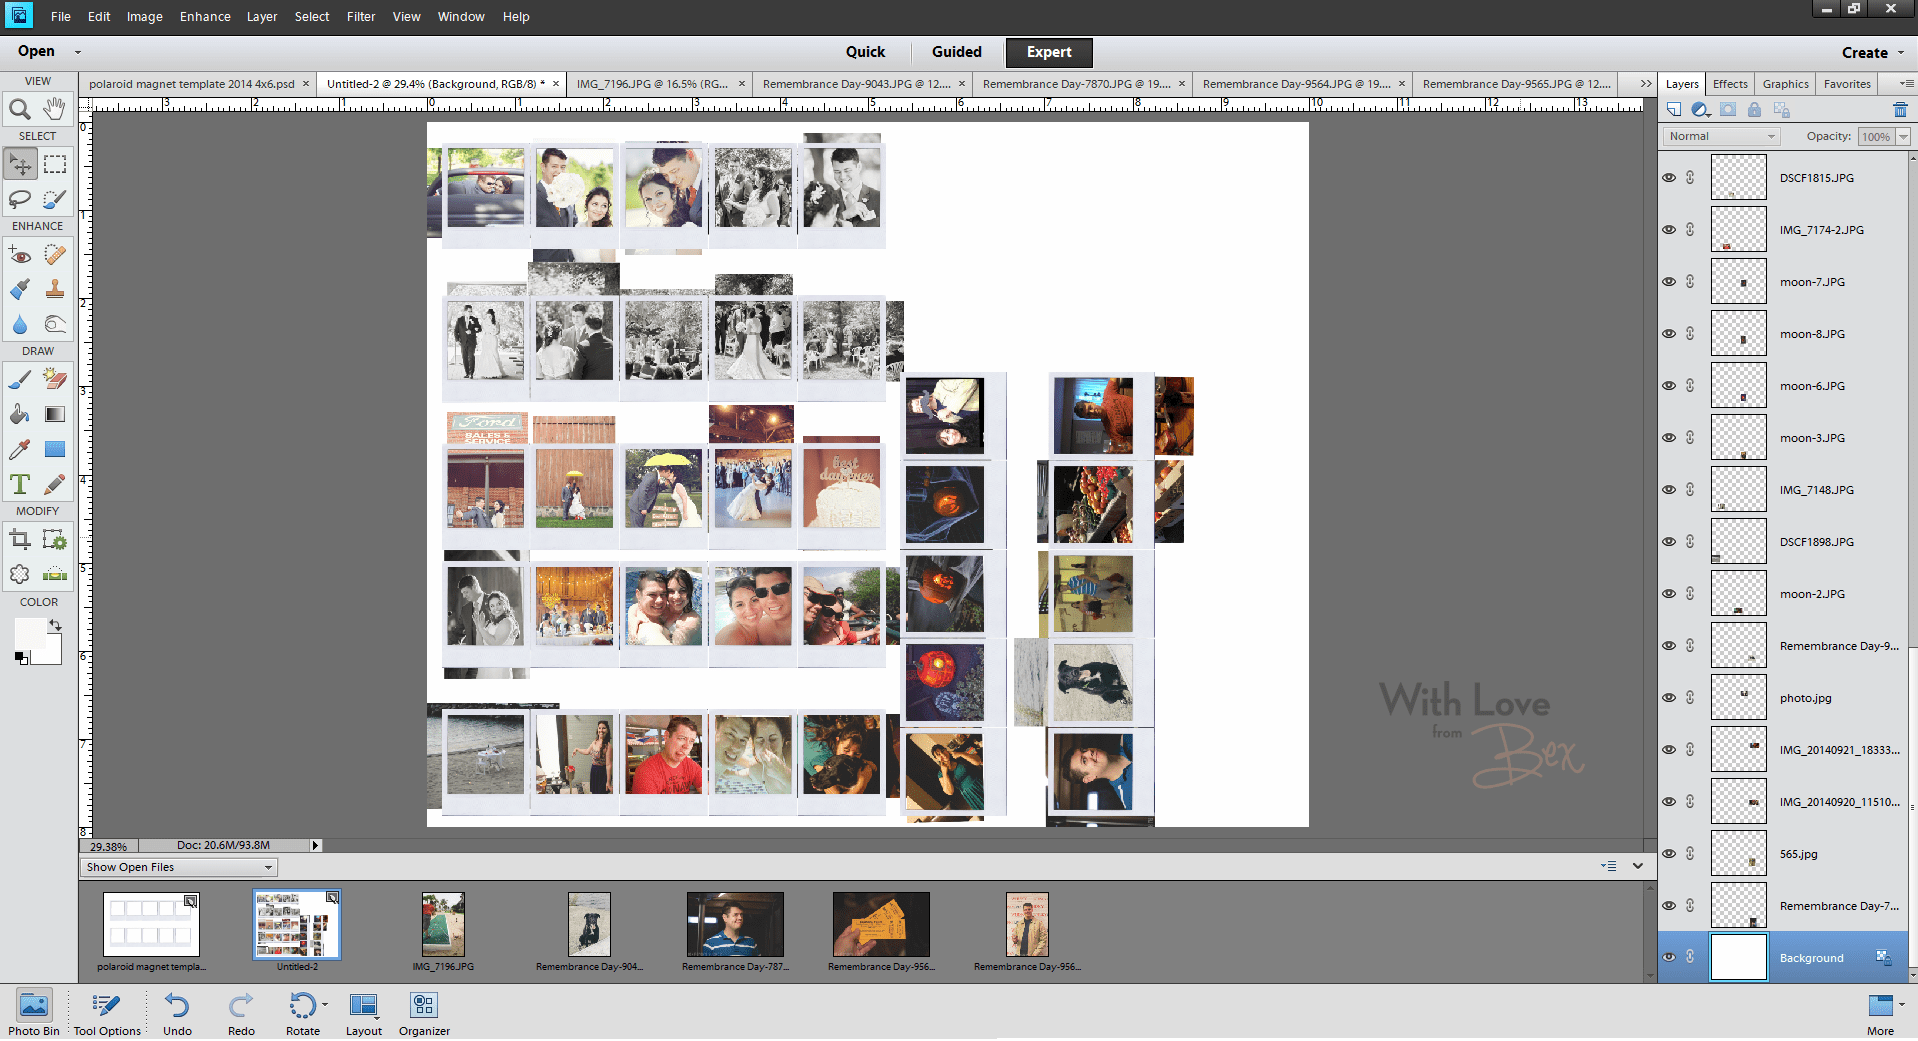
Step 1 First I grabbed the template over at this link and copied it 3x on a 8×10 template on Photoshop Elements because I used 8×10 photo paper. You can also print these on 4×6 which is what the original template size is. I then chose the photos I wanted to Polaroidize (yup that just happened) and I re-sized them to fit the templates.
Step 2 I printed the photos and used a scissor to cut each and every photo. Yes, it will take some time, so pour yourself a glass of wine or some spiked eggnog and turn on those Christmas tunes. Trust me, it will help.
Step 3 Glue all those little cute photos onto the heavy cardstock and cut those little suckers again. I realize I could have just glued the photo paper to the cardstock and cut them all at once but I wasn’t thinking…could have been the eggnog…who knows *smirks*
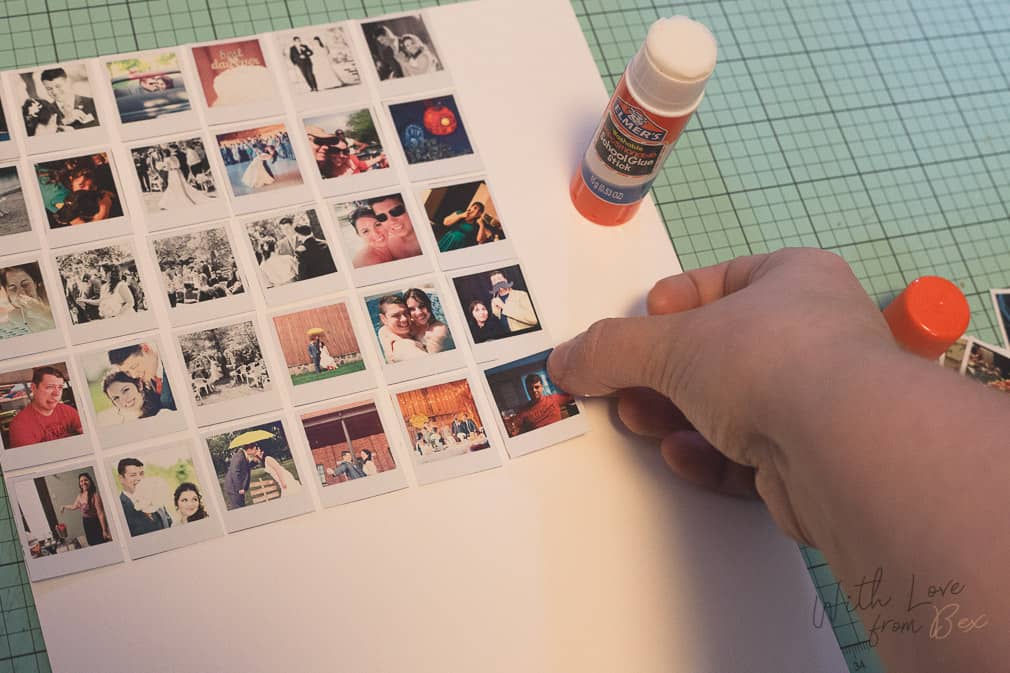
Step 4 Once all the photos on card stock are cut out, use the foam brush and Mod Podge to seal the polaroids. (I used my HP Colour Laser to print these out, so the colours of my photos wouldn’t bleed. Not every laser printer is the same, so test it out first. If you use an inkjet be aware that your photos could bleed so you may want to laminate them instead). Allow them to dry for 15 minutes. While they dry, cut out the baker’s twine, enough to make a hanging loop.
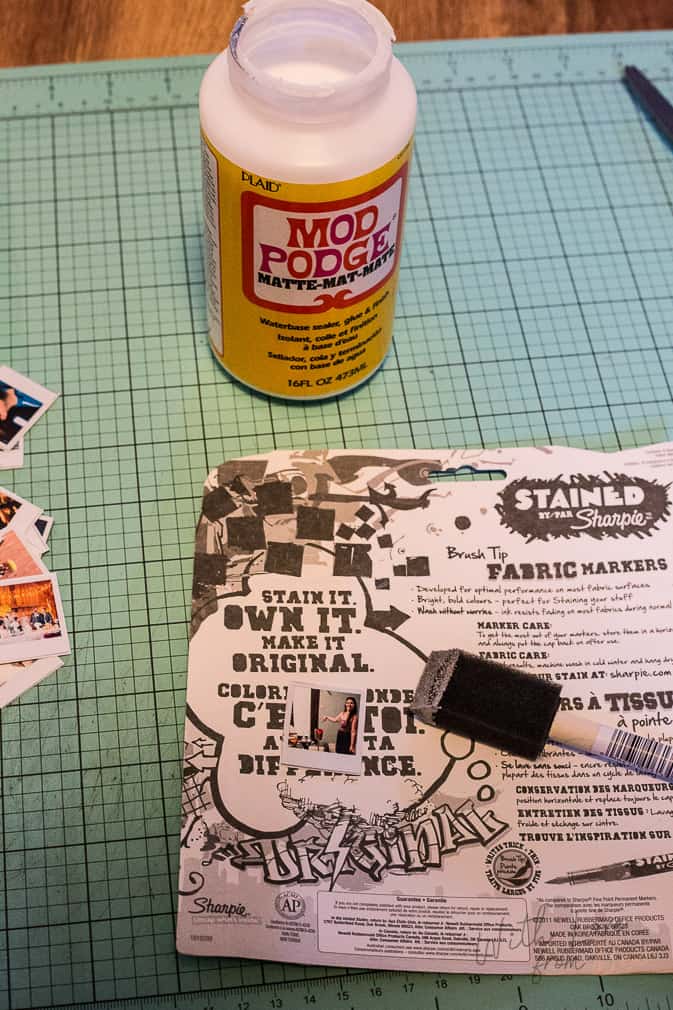
Step 5 Using clear tape, tape the ends of the loops to the back of the mini polaroids.
Step 6 Finally time to decorate your mini tree with your memories. I bought my white mini tree at Target for only $4 (cdn, on sale).

And VIOLA! There you have it, a mini Polaroid tree full of many memories! Isn’t it pretty?
I LOVE this season!! What are your favourite memories from this year?





These are super cute! I thought you used real polaroids for a moment there.
http://itsjpei.wordpress.com/
Thank you 🙂 I’m really happy with how they turned out!
Very nice post. I just stumbled upon your weblog and
wanted to say that I have truly enjoyed surfing around your blog posts.
In any case I will be subscribing to your feed
and I hope you write again very soon!
Awesome post.